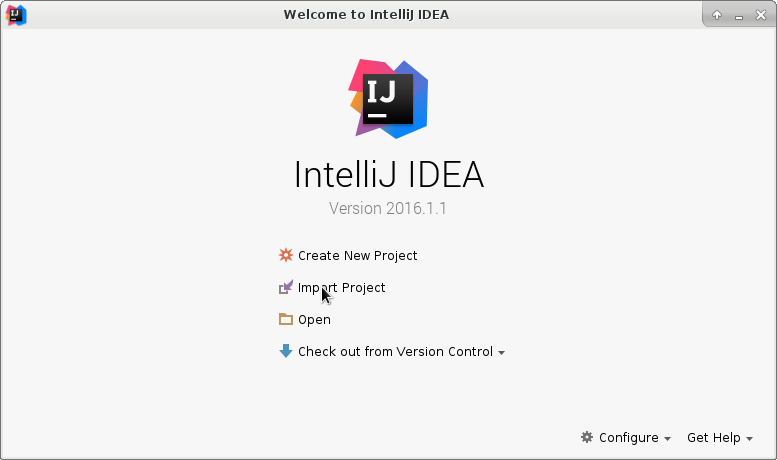
IntelliJ Project Setup
Section author: Luke Frisken <l.frisken@gmail.com>
This document explains to set up IntelliJ with this project.
Import project
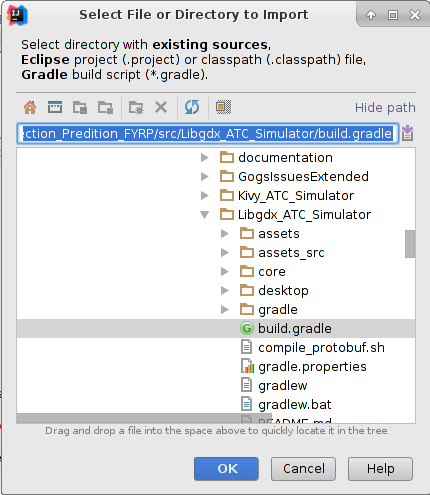
Choose Gradle build file to import from
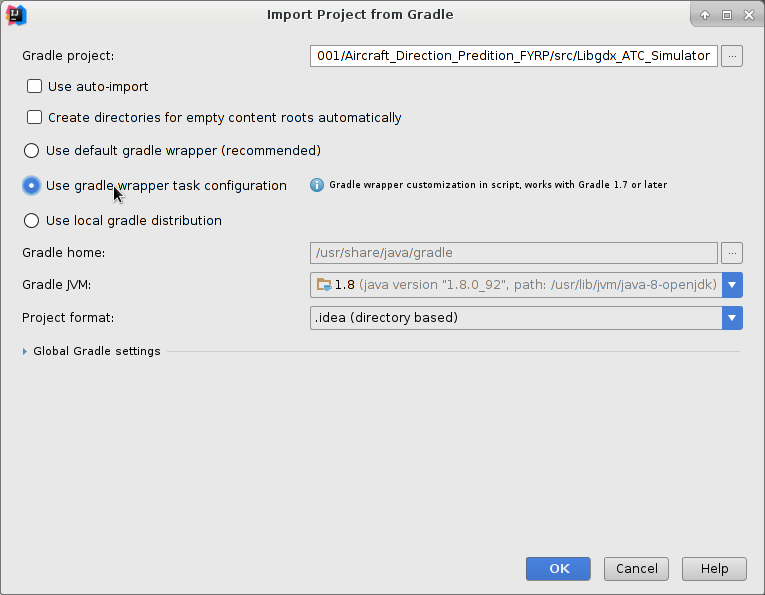
Choose use gradle wrapper task configuration
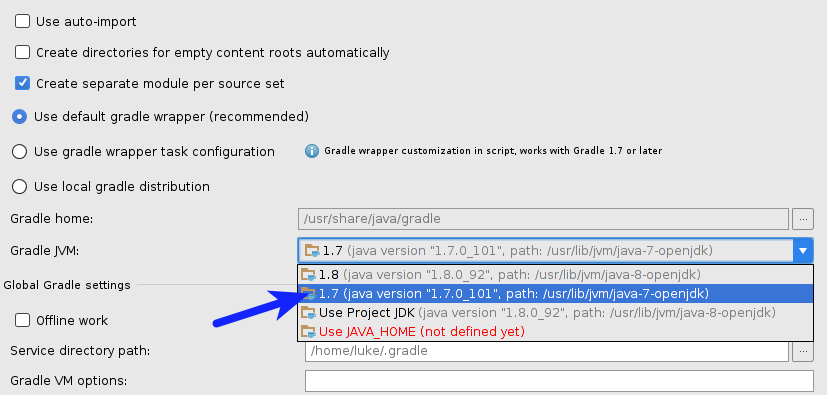
Choose Choose Gradle JVM Version 1.7
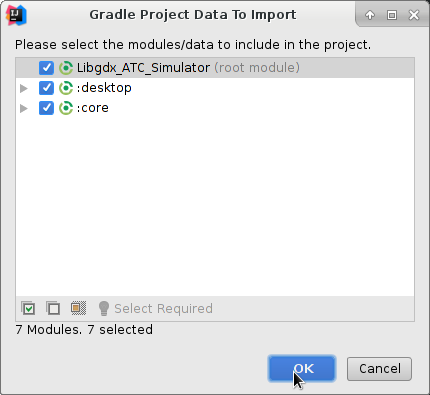
Press OK

Add this repo to IntelliJ
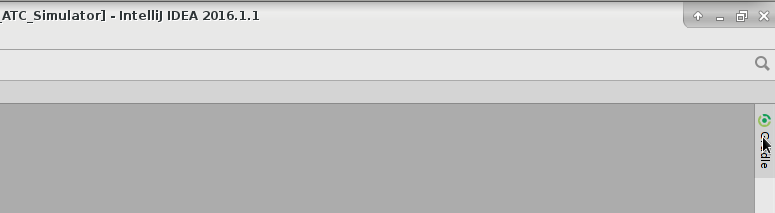
Click on gradle sidebar (or open it under view->tool windows->gradle)
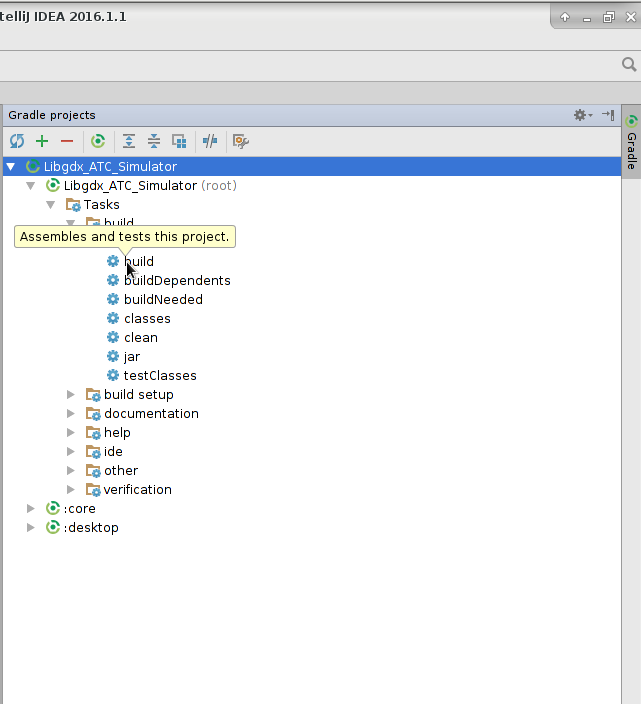
Build the project (double click)
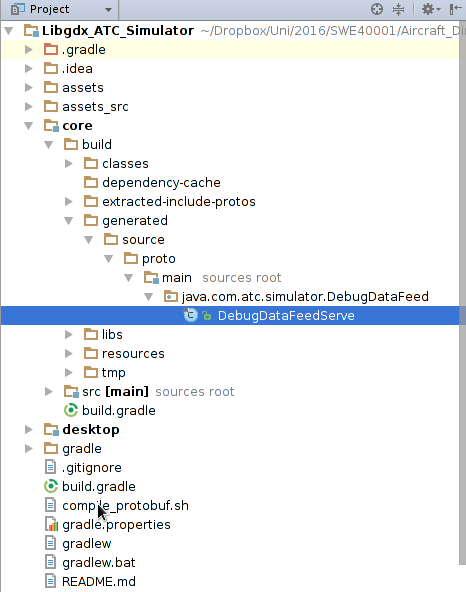
See generated class files from protobuf
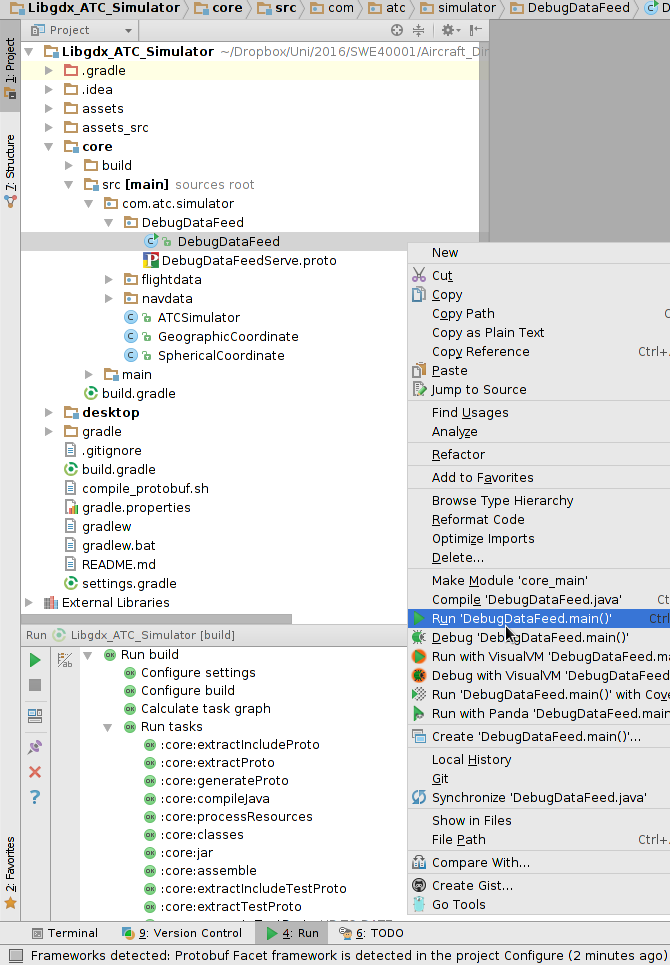
Run main file first time by right click

After this it is available on toolbar menu
Refreshing Project after Gradle Changes
Sometimes after adding new gradle dependencies or changes to the gradle file you will need to refresh the project to solve problems. This can be done using the following method:
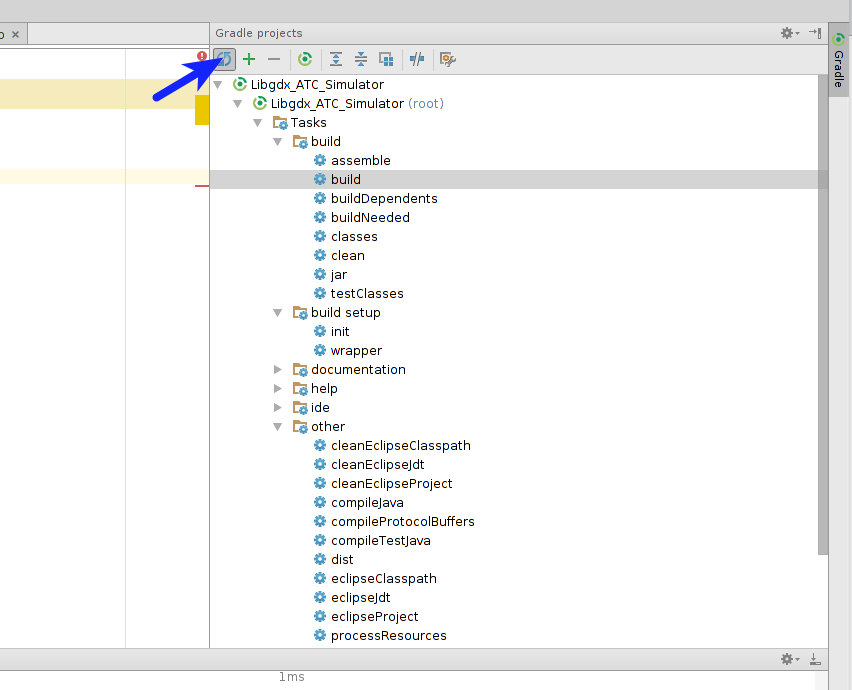
click to refresh the gradle project.
Running main Method Files
This describes how to set up IntelliJ to run a file with a main method, and set it up so that it is automatically rebuilt upon launch.
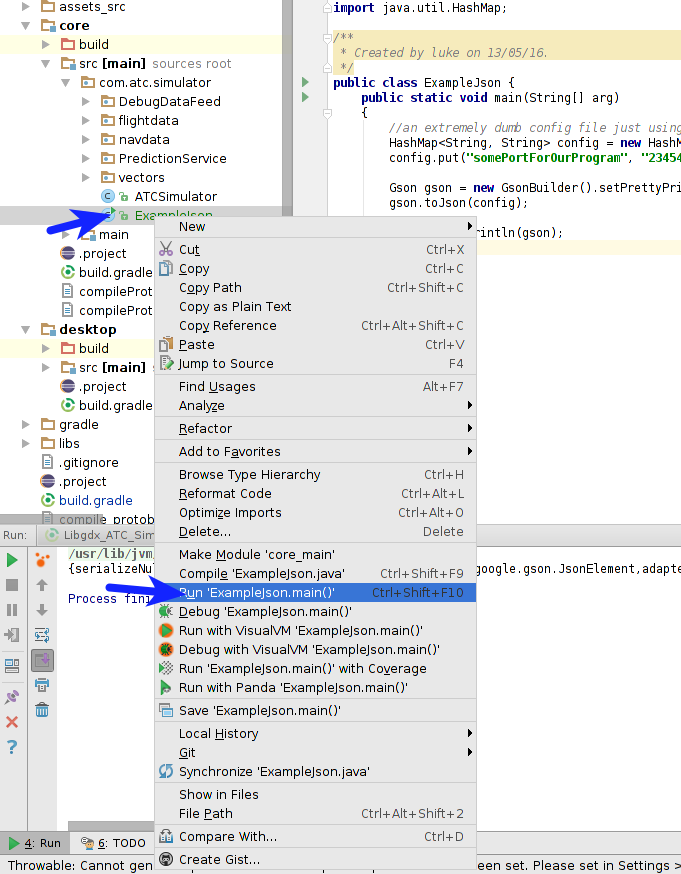
Right click on file with main method and click run. This will generate a new run configuration which we can edit.
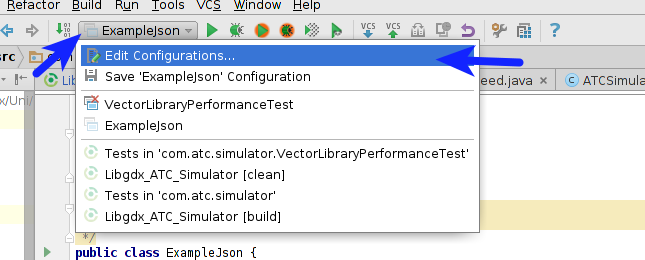
Select the run configuration from the dropdown list and edit.
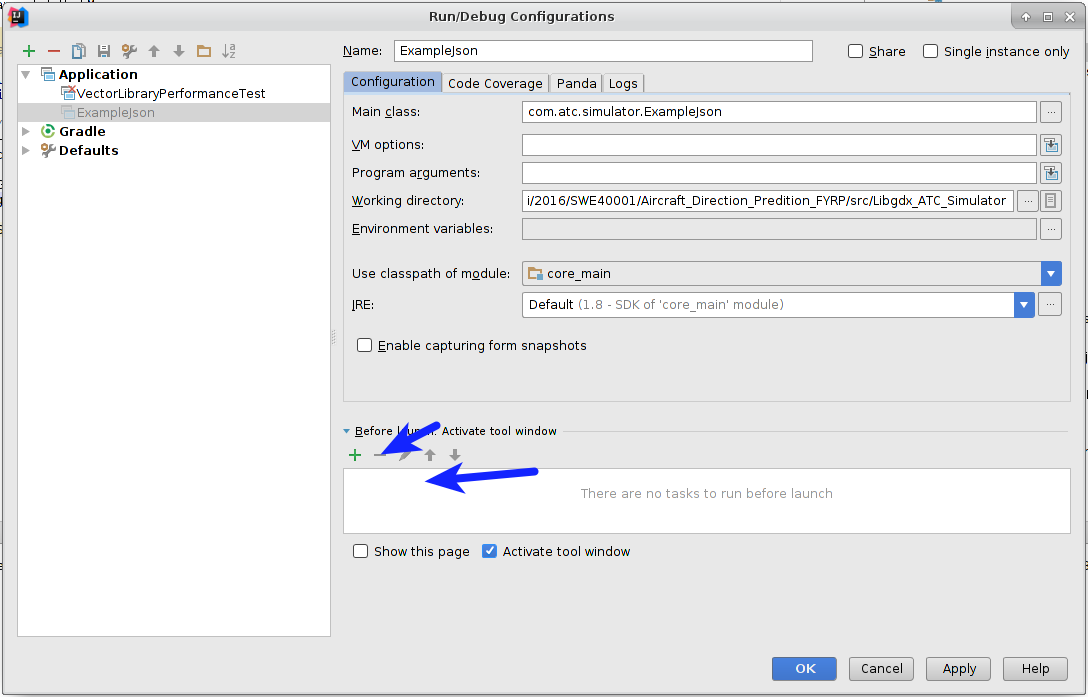
Delete any existing “Make” tasks to run before launch
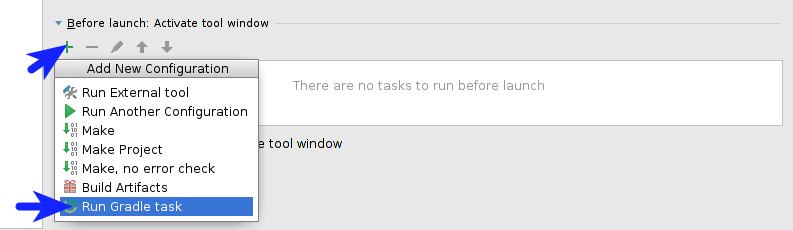
Add a new run gradle task
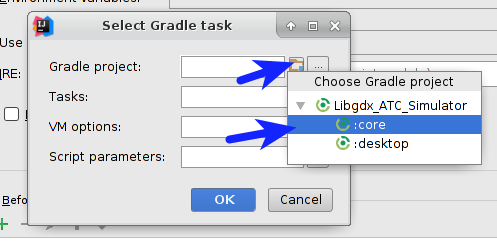
Select the current gradle project this run file is in.
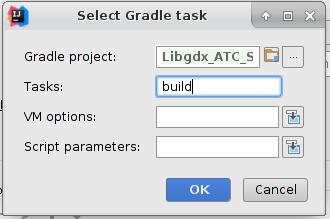
Select the “build” task